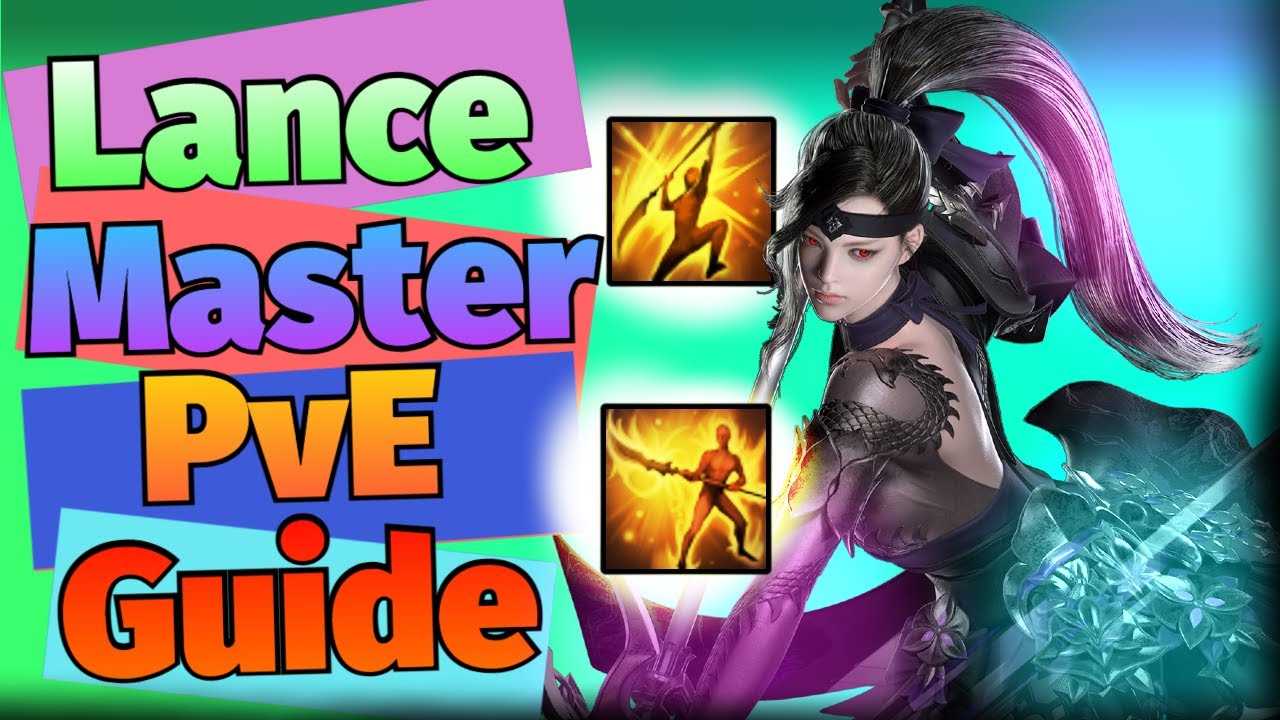
A general overview of the Glaviera group of people in a particular situation
If you compare him to the other Martial Artists, Glaivier is by far the most well-rounded of them all. She is a true jack of all trades, but she is a master of none in her particular field of expertise. She also has a significantly greater range of motion than any other Martial Artist, making her the most versatile of all.
She is the ideal choice for players who prefer to have an answer to every question they may have because she is well-equipped with all of the necessary tools.
With an identity gauge, the Lost Ark gold guide for Glaivier is able to switch between different characters while maintaining his or her stance. A good combination of damage, utility, and party synergy can be found in their blue stance, making it a well-rounded choice.
Their red stance contains the skills that deal the most devastating damage to their opponents. In order to gain the benefit of switching stances, you must expend some of your identity gauge in order to gain the benefit of a buff, which grows in strength in direct proportion to how much identity gauge you have at the time of switching.
Both of Glaivier's Class Engravings are still viable options to consider for your class engraving. Because of her Zenith Class Engraving, the strength of the benefits she receives when switching between stances is increased, whereas her Moderation Class Engraving disables the red stance and gives her blue skills a damage boost, when she switches between blue and red stances.
Glovier is a great choice for players who want to stand out from the crowd and express themselves creatively because she has a great deal of versatility in how she can be played.
The zenith (in this case, Swap Engraving) represents the pinnacle of achievement.
One of the benefits is that it has a naturally high critical rate, which is one of the advantages.
It is not necessary for you to make any investments in the critical stat or critical engravings.
2. An attack pattern that is constantly changing. Her ability to be much more versatile in her attacks is facilitated by the fact that she does not rely on frontal or backal attacks.
Negatives: If you are forced to swap before you have finished filling the identity gauge, your performance will be adversely affected.
When it comes to builds, Glaivier's Zenith is one of two viable options that focuses on using their identity to swap between two different positions, the Sun stance (red) and the Moon stance (blue). There are two viable builds for them, and one of them is based on using their identity to swap between two stances, the Sun stance (red) and the Moon stance (blue), which they can switch between using their identity. It is their Sun skills that do the bulk of their damage, whereas their Moon skills are the ones that provide them with all of their utility.
Their identity gauge is made up of three bars that fill up as time progresses in their lives. Glaiviers gain buffs and deplete their identity gauges every time they alter their stance. When you swap characters with a full identity gauge on your character, the buff is at its most powerful. When the buff is engraved with zenith class engraving, the power of the buff is increased even further.
Buff from blue to red 50%15% Movement Speed 20% Damage 50% Crit Damage 15% Movement Speed15% Increase in Movement Speed when dealing with Crit Damage
Efficacy increases by 15% when the color changes from red to blue.
Attack Speed is increased by 15%, dealing 15% more damage.
Despite the fact that the Zenith build is more difficult to play than the Moderation build, the game is still fluid and enjoyable to play with.
Statistics Quickness is a specialized area of study.
A high priority is placed on specialization, with swiftness serving as a supporting stat for the Zenith Glaiviers for Lost Ark gold farming. In addition, specialization increases your buff while switching stances and your meter generation*, as well as making your Awakening more effective when used.
Sculptures and engravings are examples of this.
It is necessary for both Glaivier builds to be at level 3 of their respective class engraving in order for them to function properly.
The following will be the Engravings' endgame Zenith priority in the endgame:Zenith 3 Grudge 3 Keen Blunt 3 Cursed Doll 3 Increase Mass 3 Raid Captain 3 Increase Mass 3 Raid Captain 3 Increase Mass 3 Raid Captain 3 Increase Mass 3 Raid Captain 3 Increase Mass 3 Raid Captain 3
However, while the majority of endgame Glaivier engravings offer benefits, many also have drawbacks or are ineffective until they reach level 3.
To get you started with Glaivier, we recommend the following resources:
In the following order: Zenith 3 - Raid Captain 1
Among the engravings in your collection, Zenith is the most significant. The ability to progress one level further into Raid Captain while waiting to figure out how to set up your end-game engravings is available from this point onward.
The fact that you must pay a significant penalty to obtain your end-game engravings means that they are only worthwhile to obtain when you reach level three.
Tripods and Zenith Techniques are two types of photography equipment.
The Horn of the Red Dragon wins 3-3-1, giving them a three-point advantage.
Damage-dealing primary attack with a long range and a high chance of landing a critical hit. This weapon charges slowly and must be released during the perfect zone in order to do the most damage possible.
Starfall Pounce 1-3-1 (also known as Starfall Pounce 1-3-1) is a 1-3-1 starfall pounce.
With a 100% chance of landing a critical hit, this is the primary damage skill. This enables you to arrive at your destination more quickly.
Dragonscales are a type of defense.
This is the parry you've been looking for, I believe. While the parry is in effect, it grants you the ability to remain immune to all attacks. When used properly, it will allow you to completely avoid boss mechanics and attacks that would otherwise be time-consuming to avoid.
Shackles on a Blue Dragon's Back
Three-one-one is an abbreviation for the number three.
It is the Synergy of Glaivier's Party that is important. When used in conjunction with the appropriate tripods, this skill grants your party an 18% critical strike bonus for a brief period of time.
The score is 2-0-0 in the vault
Glaivier is prepared to counter your argument. In order to increase the dash distance, we only put a few points into Vault, which will make it easier to land on the ground.
Raging Dragon Slash (Raging Dragon Slash) 3-3-2 (Raging Dragon Slash)
One of the most important blue-damaging abilities we possess. When used in conjunction with the stance swap buff and a tripod, this skill has a naturally high critical strike rate.
Slashing in a three-two-three pattern
Half Moon Slash (Half Moon Slash) 1-3-1 (Half Moon Slash)
This is another good blue-damaging skill with a short cooldown that can be used frequently. Shackling Blue Dragon is a powerful spell that should be included in your rotation after you have used it.
Wheel of Blades is an informal term for a group of blades on a wheel that is commonly used in slang.
This is another good blue-damaging skill with a short cooldown that can be used frequently. Shackling Blue Dragon is a powerful spell that should be included in your rotation after you have used it.
With a flash kick, the score is 1-0-0.
Its purpose is to provide the user with a little more mobility.